
4 Gallon Blue Floor Buffer Solution Tank
£82.00
Sale price
£82.00
Regular price
£0.00
Shipping calculated at checkout.
TPL-4GST-BLUE
- ✔ Premium Quality Materials
- ✔ Quality Checked Before Dispatch
- ✔ Secure Payments
- ✔ Dedicated Customer Support
Fast Shipping
Quick dispatch and reliable delivery.
Secure Checkout
Your payments are protected and encrypted.
Easy Returns
Hassle-free return process.
Trusted Quality
Premium products loved by customers.
Don't Forget To Explore More From This Collection
Customers often buy these together to complete their project.
Description
This solution tank will fit onto any one of the rotary floor scrubbers that we sell, as well as any other floor buffer on the market. Please note that some floor buffers require a smaller 3/8" diameter hose. We offer a 1/2" to 3/8" O.D. conversion kit that will allow this tank to be attached correctly to these machines. Take a look at the instructions below for picture by picture assembly instructions.
![]() Instructions to Attach Your Solution Tank
Instructions to Attach Your Solution Tank


Standard Instructions
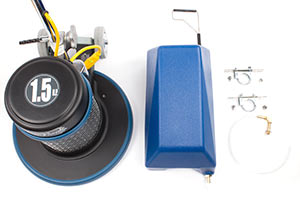 | 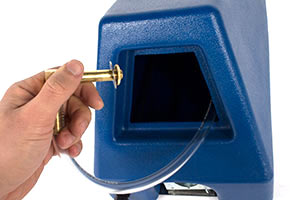 | ||
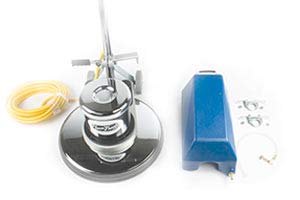
| 1. Items included for your solution tank kit. | 2. Remove the hose and fittings from inside the tank and set aside. | ||
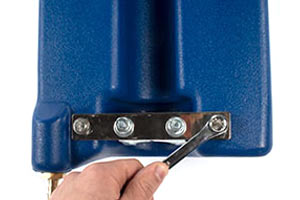 | 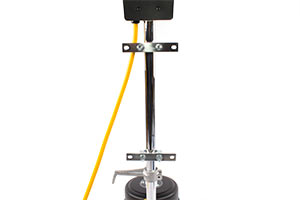 | ||
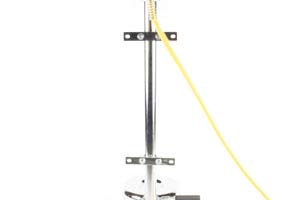
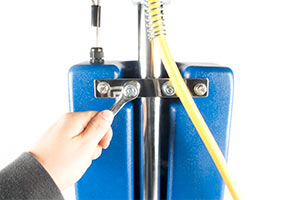
| 3. Remove the 2 u-bolts and mounting brackets from your handle. | 4. Attach the 2 u-bolts and mounting brackets to your handle. For larger handles, the brackets on the u-bolts can be omitted. Leave bolts loose to allow for adjustment | ||
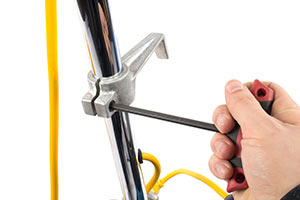 | 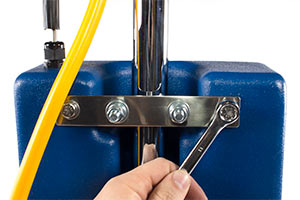 | ||
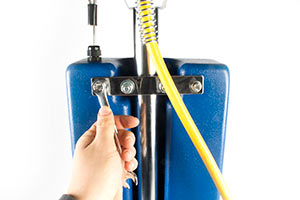
| 5. If room is needed, loosen and lower the cordwrap bracket on your handle. | 6. Attach top bracket to the solution tank. | ||
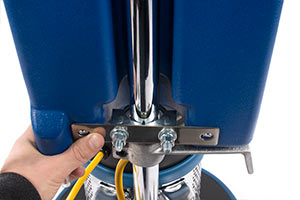 | 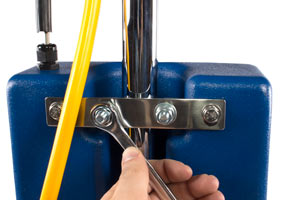 | ||
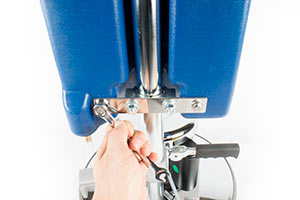
| 7. Line up the bottom bracket and attach to the solution tank. | 8. Adjust tank to proper height and tighten u-bolts | ||
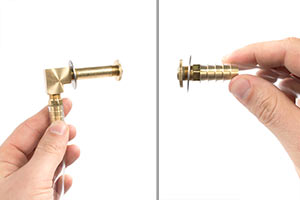 | 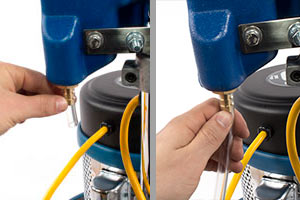 | ||
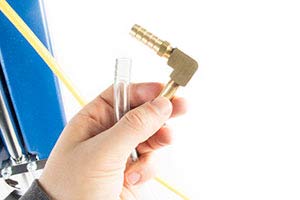
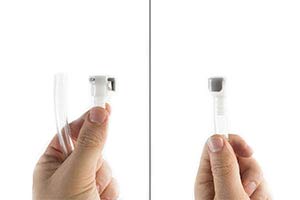
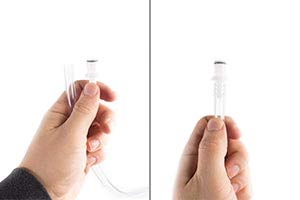
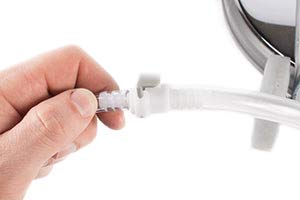
| 9. For thinner aprons, remove the angle and extension and put the washer and nut on the hose fitting. For thicker aprons, keep the angle and extension on the hose. | 10. Remove the fitting protector and attach the main hose to the hose fitting. | ||
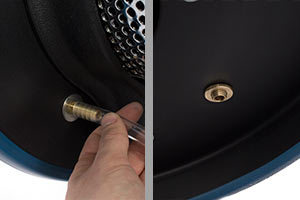 | 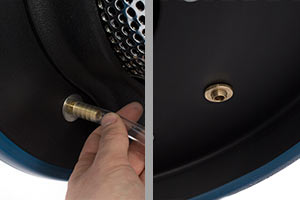 | ||
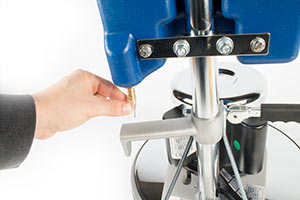
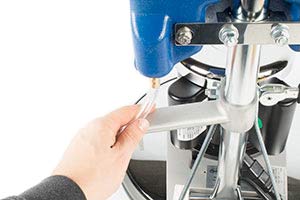
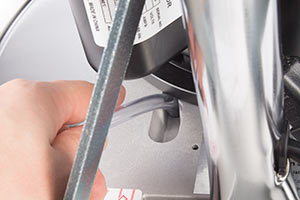
| 11. Locate the hole in the apron that is made for the solution hold. Some machines have a cap in the hole. If there is a cap, remove it. Remove nut from fitting. If the fitting is too large for this hole, you will need a converstion kit and follow these instructions. | 12. Slide extension rod through the hole in the apron, making sure the washer is on top. Attach the nut to bottom of rod. Make sure to adjust rod, so it will not rub pad driver, or brush! |

Return policy
Our goal is for every customer to be totally satisfied with their purchase. If this isn't the case, let us know and we'll do our best to work with you to make it right.
Shipping
We will work quickly to ship your order as soon as possible. Once your order has shipped, you will receive an email with further information. Delivery times vary depending on your location.
Manufacturing
Our products are manufactured both locally and globally. We carefully select our manufacturing partners to ensure our products are high quality and a fair value.